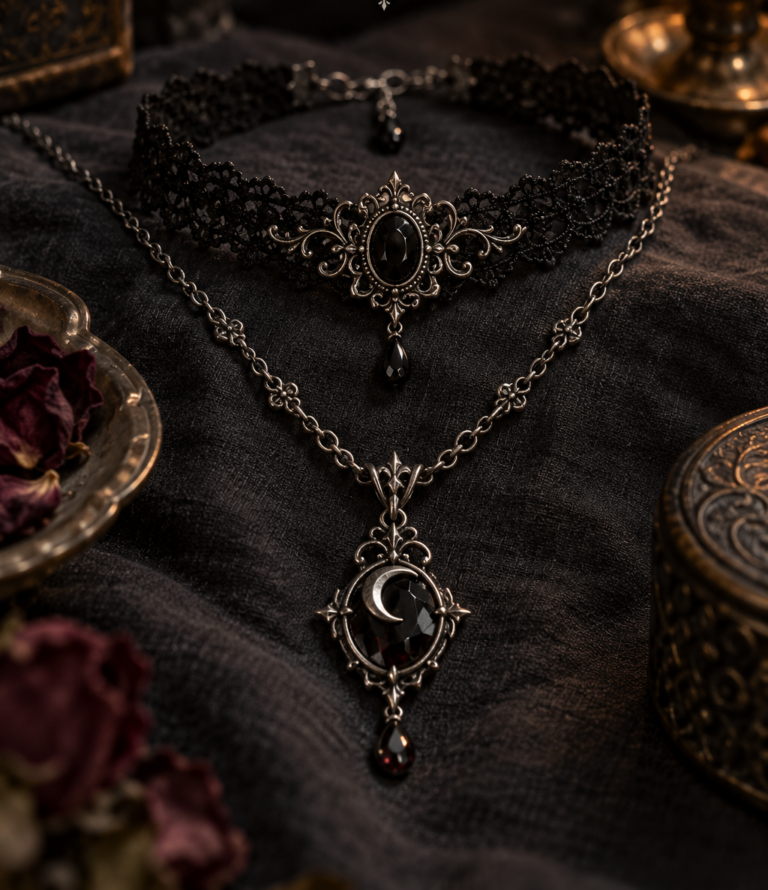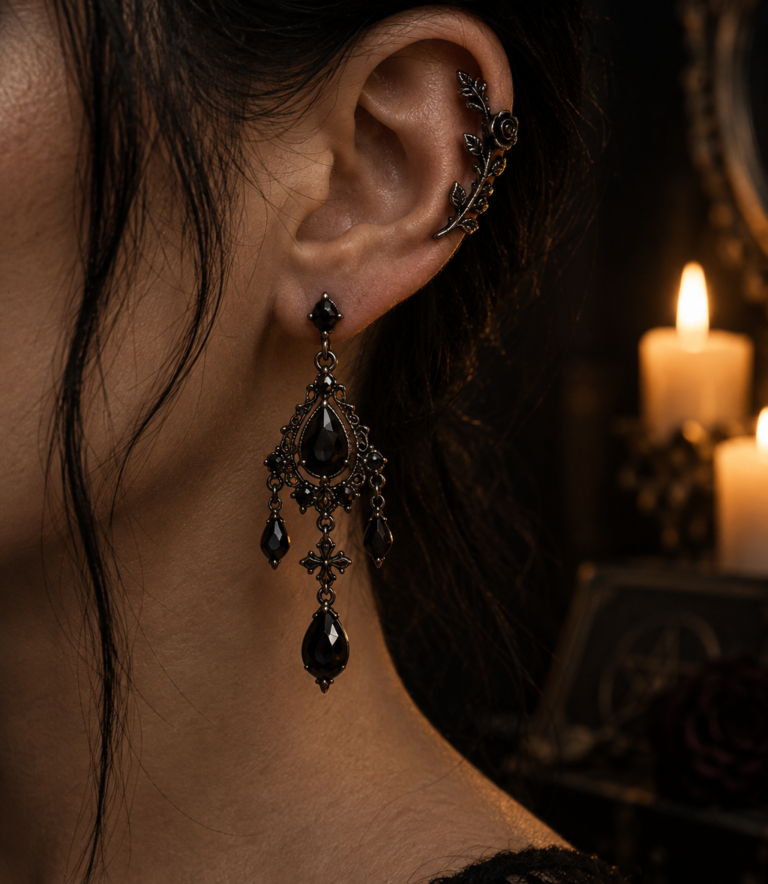
You already own the good pieces. The chokers, the heavy rings, the cuff that has outlasted three wardrobes and at least one relationship. What you may not have is a method for wearing them together without looking like a jewellery counter that has had a minor accident.
As an Amazon Associate I earn from qualifying purchases and sometimes recommend products from other sellers at no extra cost you. For more details see my disclosure policy and privacy policy. Posts may contain AI generated images to illustrate the content.
This guide is about the combining. Not what to buy, but how to build chokers, chains, rings and cuffs into one cohesive look that reads as intentional, atmospheric and entirely yours. Treat everything below as principles to bend, not laws to obey.
🖤 Start With an Anchor, Then Build Outward
Every layered look that works has a point of gravity. One piece the eye lands on first, with everything else arranged in its orbit. Without it, you have a pile. With it, you have a composition.
Your anchor can be almost anything with presence: a wide statement choker, a substantial pendant, a cuff with real weight, a ring that arrives in the room slightly before you do. The test is simple. If someone were to describe your jewellery in one sentence, which piece would they mention?
Midnight Decor
3D printed gothic pieces
Darkly beautiful objects for the gothic home — printed fresh when you order. Each piece is conjured for your space and entirely yours.


A good anchor is something like an oxidised gothic choker, where the darkened finish and heavier scale do the talking. Once it is on, the rest of your choices become easier, because every other piece now has a job: support, contrast or quiet echo.
Build outward in this order. Put the anchor on first, step back, and only then ask what it needs. Sometimes the answer is nothing at all, and that is a perfectly respectable outcome.
📏 The Necklace Length Ladder
Layered necklaces fail for one reason more than any other: the pieces sit at the same length and fight over the same patch of collarbone. The fix is a ladder, with each piece landing at its own height so that every one gets seen.
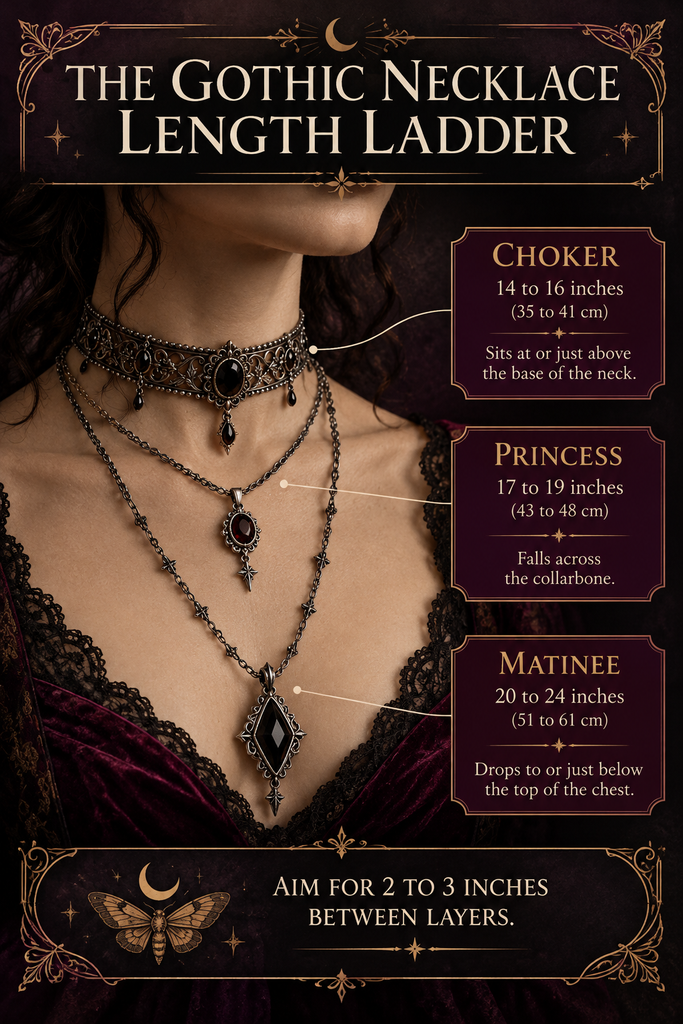
Jewellers broadly divide necklaces into three useful lengths for layering:
- Choker: roughly 14 to 16 inches (about 35 to 41 cm). Sits at or just above the base of the neck.
- Princess: roughly 17 to 19 inches (about 43 to 48 cm). Falls across the collarbone.
- Matinee: roughly 20 to 24 inches (about 51 to 61 cm). Drops to or just below the top of the chest.
Sizing varies between makers and, naturally, between necks, so treat those figures as a starting point and check the listed length before ordering. A few centimetres either way changes where a piece lands.
The practical aim is a gap of about two to three inches between layers, enough that each chain has its own space to breathe. If you want the detail on types of necklace and pendant, the gothic necklaces guide covers that ground, so I will not repeat it here.
⛓️ Mixing Chain Weights and Textures
Once the lengths are staggered, the next job is contrast. Three chains of identical weight at three lengths look like a uniform. Three different characters at three lengths look like a point of view.
Pair something substantial with something fine. A chunky curb or rolo chain near the throat gives the neckline structure, while a delicate trace chain below it adds movement without competing. Add a textural change, such as a twisted rope or a faceted link, and the eye has something to explore.
A useful habit: let the heaviest element sit closest to your anchor, and let weight fall away as you move outward. It keeps the look top-heavy in the elegant way rather than the lopsided way.
Smooth against rough also works. A polished pendant on a plain chain, set beside a rough-cast piece with deliberate pitting, shows that you chose the contrast rather than inherited it.
🕯️ Pendant Spacing, or How to Avoid the Tangle
Pendants are where layering gets practical. Two pendants at the same height will clash, swing into each other and eventually knot themselves into something that requires patience and a very small needle.
Stagger them. If the shorter chain carries a pendant, give the longer one a plain run or a pendant noticeably larger or smaller, so the two never share a drop point. Let the longest piece carry the most visual weight, since it has the most room to display it.
A few small habits save a great deal of grief:
- Fasten clasps at the back and check they sit apart, so they do not hook each other mid-evening.
- Put the longest chain on first and work inward toward the shortest. The reverse is how tangles are born.
- Keep very fine chains away from heavy pendants on neighbouring chains, which tend to drag them off course.
- Take the whole stack off in the reverse order, and lay it flat rather than dropping it into a dish.
If you would like to explore what the stones themselves signify, dark gemstones is the place for it. For layering purposes, I care only about colour and scale.
🌑 Mixing Metals and Finishes
The old rule said never to mix metals. The old rule was written by people who did not own blackened silver. Gothic jewellery lives in a family of dark, aged and oxidised finishes, and most of them get on perfectly well.
The usual cast is bright sterling silver, blackened or oxidised silver, gunmetal and antique brass. Silver, blackened silver and gunmetal share a cool undertone, so they combine almost without thought. Antique brass is the warm outlier, and that is exactly why it works as an accent.
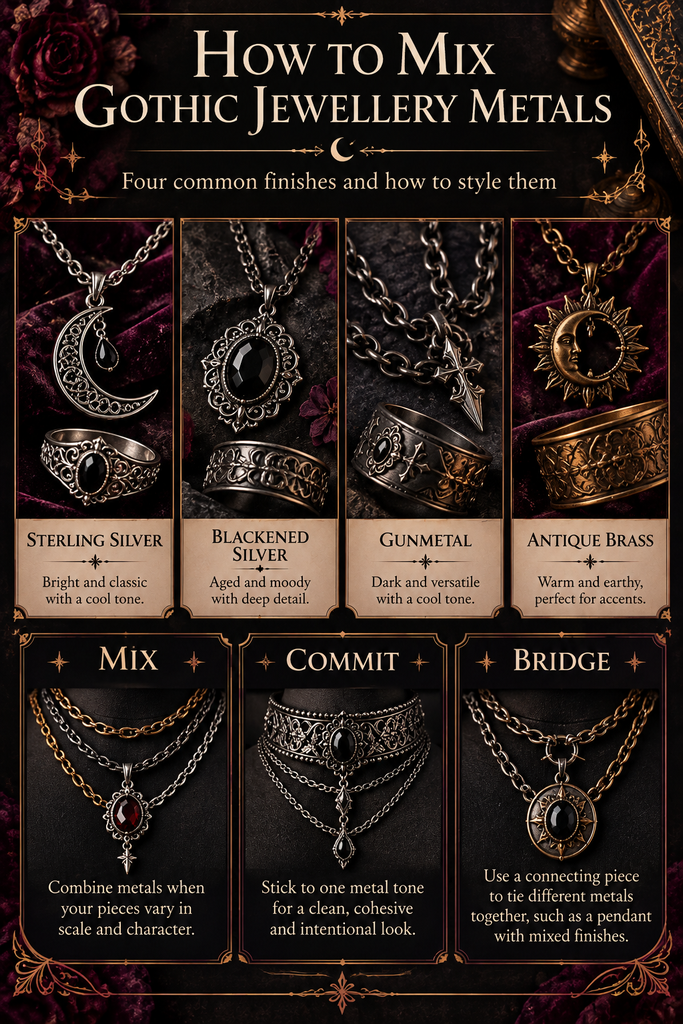
Here is a flexible way to decide whether to mix or commit:
- Mix when your pieces vary in scale and character. A warm brass pendant against cool darkened silver reads as deliberate when there is enough else going on to frame it.
- Commit to a single tone when the look is already busy in texture, pattern or lace. Restraint in metal lets everything else speak.
- Bridge the gap with a piece that carries both tones, such as a chain with mixed links or a ring with a brass detail on silver. It acts as a diplomat.
If you mix, it helps to echo each metal somewhere else, such as neck and wrist. A lone brass piece looks like a stray. Its echo elsewhere looks like a decision.
One practical note. Oxidised and plated finishes wear at different rates, and silver tarnishes with time. A quick wipe with an anti-tarnish polishing cloth keeps bright silver bright, but go gently on pieces whose darkness is the point, since you do not want to buff away a finish you paid for.
💍 Stacking Rings and Cuffs Without Competing With the Neckline
Hands and wrists are the second stage, and they should support the neck rather than heckle it. If your necklace is the anchor, let your rings and cuffs speak at half the volume. If a cuff is the anchor, simplify the neck.
For rings, think in terms of clusters rather than counts. Group a few across one or two hands, vary the band width, and leave some fingers bare so the eye has somewhere to rest. A single substantial piece, such as a sterling silver skull signet ring, pairs well with slimmer bands around it. Our gothic ring guide goes through the styles, so here I am only interested in how they sit together.
Wrists reward a similar approach. A wide leather cuff bracelet makes a strong base, and a slimmer chain or two can sit alongside it. Keep the wrist weight roughly in proportion to your neckline weight, so that one side is not shouting over the other. More options for styles and fastenings live in the bracelets and cuffs guide.
Mind the practicalities too. Rings that catch on cuffs and bracelets that clatter against desks are signs the stack wants editing, not that you need to try harder.
🎭 One Statement Zone, and Other Balance Principles
If there is a single idea to take from this guide, it is that a look generally has room for one statement zone. Decide where the drama lives, whether neck, ears, hands or waist, and let the other areas play supporting roles. It is a principle, not a ban, and plenty of excellent outfits break it knowingly.
A few ways to apply it:
- Scale to the neckline. A high collar or turtleneck wants a long pendant or nothing at the throat. A scoop or sweetheart neckline gives chokers and layered chains a stage. A deep V invites a matinee-length piece that follows its line.
- Scale to the fabric. Lace, velvet and heavy knits can swallow fine chains, so go bolder. Silk, jersey and sheer fabrics can be overwhelmed by heavy pieces, so keep the weight light.
- Consider the ears. Statement earrings change how much the neck can carry. The gothic earring guide is useful here, and a pair of gothic drop earrings is a good reminder that a dramatic ear may mean a quieter chain.
- Watch the waist. If a belt is the feature, as with a corset belt or chained piece from the belts and corset accessories guide, pull the jewellery elsewhere back to a murmur.
Comfort belongs in this list too. If you are fiddling with something every ten minutes, it is not working, however good it looks in the mirror. The best layered jewellery is jewellery you forget you are wearing.
🌘 Layered Looks by Occasion
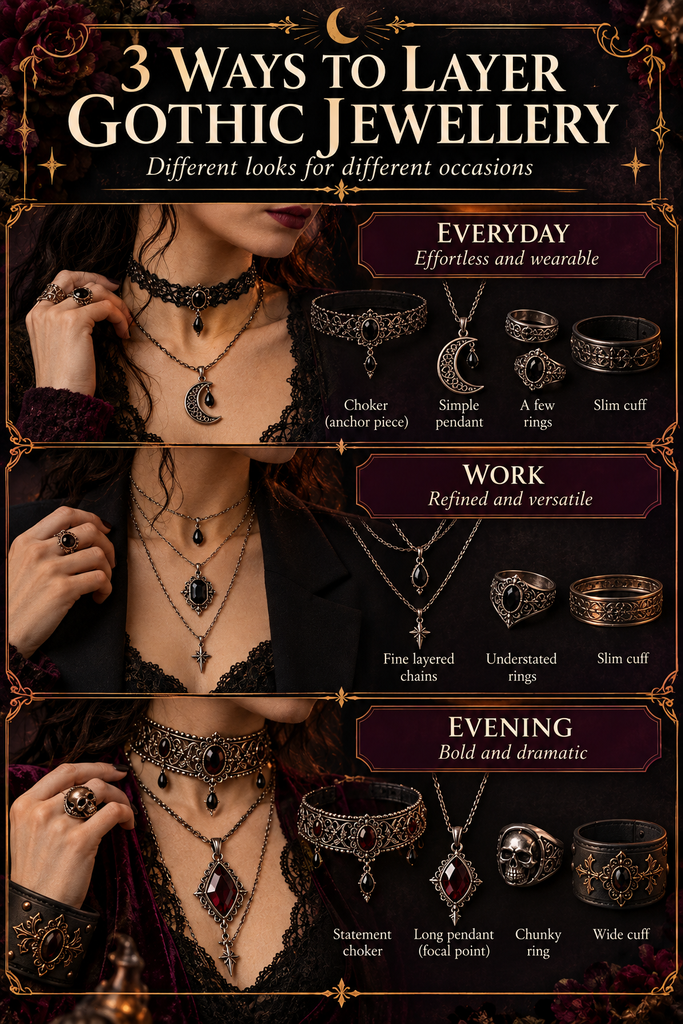
The same method scales up and down. Here are three starting points, not prescriptions.
Everyday. Choose an anchor you love and keep the rest simple. A medium-weight choker, a single longer chain, a couple of rings and your usual cuff. It should survive a commute, a supermarket and an unplanned detour without needing adjustment. For wider outfit thinking, the guide to goth fashion pairs well with this.
Work-appropriate. Lean into proportion rather than volume. Fine chains in blackened silver, a refined ring, perhaps a slim cuff worn under a sleeve. Let the finish carry the gothic sensibility, since darkness reads as polish when the scale is controlled. Keep clanking pieces away from keyboards.
Evening. Here you can let the anchor grow. A wider choker, a longer pendant layered below it, a heavier cuff and a statement ring all give the look theatrical weight. Mixed metals are most comfortable here, because the occasion supports a richer composition. Fewer pieces can still win, if they are the right ones.
Seasons matter too. Heavier knits and layers in cooler months give chains a different backdrop, and the fall wardrobe transition guide is a handy companion when the weather turns. For a wider look at what else you might add, the gothic accessories guide rounds things out.
🪞 A Final Check Before You Leave the House
Before you go, do a quick edit. Look in the mirror and ask whether your anchor is still obvious, whether lengths are staggered, whether metals repeat, and whether anything pulls, clatters or tangles.
Then remove one thing, or do not. The point of the exercise is that you can see why every piece is there. If you can, you have layered rather than merely accumulated, and the result is a look that is unmistakably, comfortably gothic.